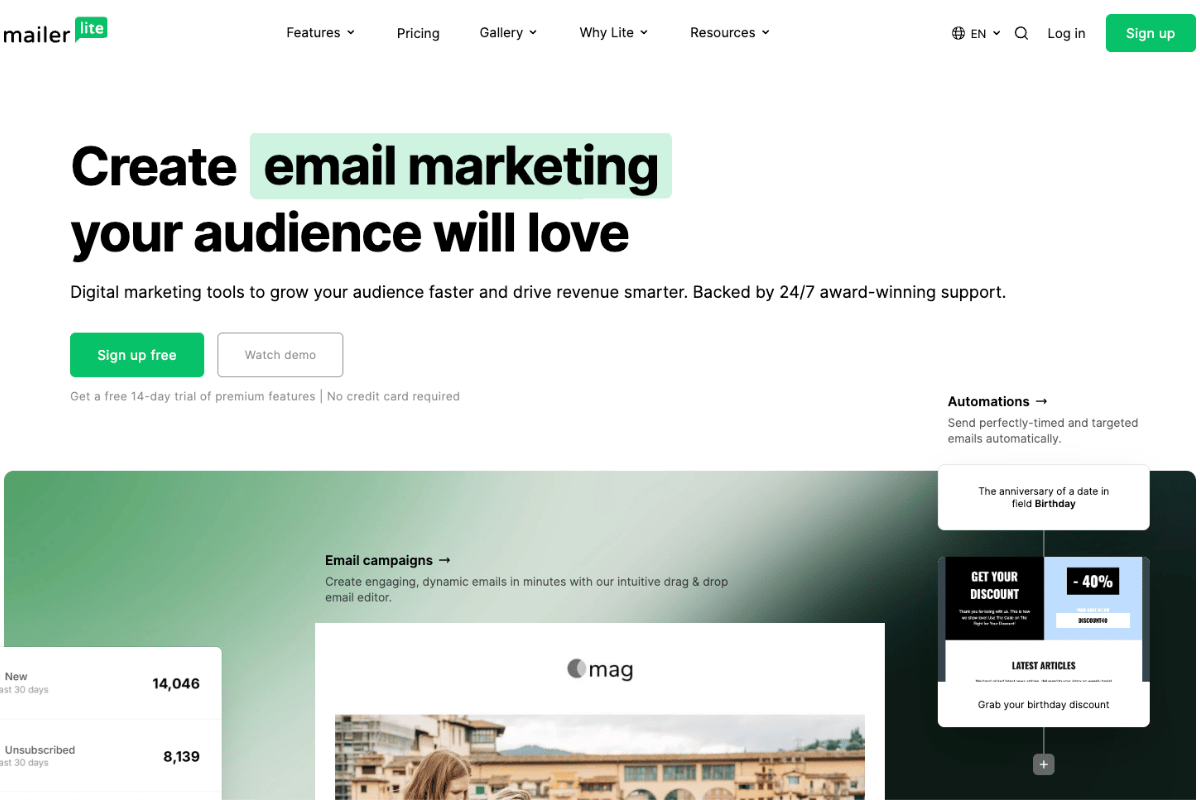
If you’ve been meaning to put your email marketing on autopilot, this MailerLite automation tutorial is your new shortcut. You’ll learn exactly what you can automate, how to structure your lists, and how to build a revenue-ready workflow, complete with deliverability basics, A/B tests, and ecommerce triggers. I’ll also share practical use cases, common pitfalls, and simple tweaks that move the needle fast.
Note on screenshots: I’ll describe what to click and what you should see at each step so you can follow along, like a screenshot tour you can replicate in your own account. Ready? Let’s build your first automation and turn subscribers into customers.
Quick tip: If you don’t have MailerLite yet, grab a free account here and follow along: Try MailerLite free (affiliate) → https://www.mailerlite.com?via=yourname
What You Can Automate In MailerLite
MailerLite’s automation builder covers most lifecycle marketing tasks you’ll ever need, from simple welcome sequences to purchase follow-ups. You’ll combine triggers (the event), filters (who qualifies), and actions (what happens next) to deliver timely, personalized emails.
Welcome And Onboarding Sequences
- Start with a trigger like “joins group” or “form is completed.”
- Send an immediate welcome email, then a drip of 3–5 messages to orient new subscribers.
- Use conditions to branch: engaged readers get advanced content: quiet readers get a lighter, “pick-your-interest” email.
Real-world example: A blogger welcomes new subscribers with a quick-start guide, then offers a mini course over 7 days. On day 5, readers can choose topics, content, SEO, or monetization, so future emails match their interests.
Lead Magnet Delivery And Nurture
- Trigger: “Form is completed” on your lead magnet opt-in.
- Action: deliver the asset instantly (PDF link, Notion doc, video access), then a nurture sequence that builds credibility and prompts a soft CTA.
- Add a check: If they don’t click the download link within 24 hours, resend a short reminder.
Pro tip: Tag the lead magnet source so you can see which assets bring subscribers who convert best later.
E-Commerce And Behavioral Triggers
- Abandoned cart reminders, viewed product follow-ups, and post-purchase cross-sells.
- Behavior-based nudges: click on a category link → send related recommendations: no opens for 30 days → re-engagement.
Use cases:
- Shopify store: 3-step cart recovery (reminder, social proof, time-limited incentive).
- Course creator: if a subscriber visits the sales page twice but doesn’t buy, send a FAQ email that addresses purchase blockers.
Prepare Your Account And List Structure
A solid structure upfront prevents messy segments, duplicate sends, and reporting headaches later. Think in terms of “how people enter,” “how we label them,” and “how we measure.”
Create Groups And Segments
- Groups: manual or automation-managed buckets you use for triggers and targeting (e.g., “Newsletter,” “Customers,” “Lead Magnet: SEO Checklist”).
- Segments: dynamic filters based on conditions (e.g., “Clicked any sales link in last 14 days”).
Screenshot tour:
- Dashboard → Subscribers → Groups → Create group (name it clearly, e.g., “LM: YouTube Script Template”).
- Dashboard → Subscribers → Segments → Create segment → Add conditions (activity, fields, ecommerce, etc.).
Set Up Forms And Double Opt-In
- Forms: embedded, pop-ups, or landing pages, each can add people to a specific group.
- Double opt-in: improves deliverability and compliance. MailerLite sends a confirmation email before adding the subscriber.
Steps:
- Forms → Create form (choose type).
- Assign to a target group.
- Customize the confirmation email and success page.
Tagging And Naming Conventions
Keep names human-readable and consistent. Examples:
- Groups: LM: Offer Name, Product: Customers, Webinar: Registered
- Segments: Engaged_30d, Cold_90d, Multiple_Purchases
- Automations: [Funnel] LM: Offer Name → Tripwire → Core Offer
Benefit: When you open your dashboard, you’ll instantly know where each subscriber sits and which automation controls them.
Build Your First Automation Workflow
We’ll create a classic welcome sequence triggered by a lead magnet form, with a branch for high-intent clickers.
Choose A Trigger
- Go to Automations → Create workflow.
- Choose a trigger:
- “When subscriber completes a form” (great for lead magnets)
- “When subscriber joins a group” (great for multiple entry points)
- Select your specific form/group.
Screenshot cue: In the canvas, you’ll see a trigger block at the top with a plus (+) icon for your next step.
Add Delays, Conditions, And Actions
Recommended flow:
- Action: Send email “Welcome + Your Download” (include the asset link up top).
- Delay: 1 day.
- Condition: “If clicked link in previous email.”
- Yes path → Action: Send “Next steps” email with an invitation to reply (boosts engagement and inbox placement).
- No path → Action: Send a short, value-packed tip + a bold “Get your download” button.
- Delay: 2 days → Send “Your quick win” tutorial.
- Delay: 2 days → Send “Soft offer” with a limited-time bonus.
Use a Goal node: Set a goal such as “Purchased Core Offer” and end the path for anyone who hits it.
Personalize With Merge Fields And Dynamic Content
- Merge fields: personalize with first name, lead magnet name, or last product viewed. Example: Hey {name}, here’s the roadmap to make {lead_magnet_topic} work for you.
- Dynamic content blocks: show different sections based on group, segment, or field values.
Why it matters: Personalized emails routinely lift click rates 10–30% and can reduce unsubscribes because people see what’s relevant to them.
Design Emails For Your Sequence
Good design doesn’t mean flashy. It means brand-consistent, scannable, and fast to read on mobile.
Templates And Branding
- Emails → Templates → Create template. Save your brand header, fonts, colors, and footer once.
- Keep a simple header (or none) for more “plain-text” feel, which often lands better in Primary inboxes.
- Include a recognizable sign-off and your contact details.
Screenshot cue: In the drag-and-drop editor, the left sidebar lists content blocks: the top bar lets you style headings, buttons, and background color.
Content Blocks, Buttons, And Links
- Use short paragraphs, descriptive subheads, and one main CTA per email.
- Buttons: Make it contrast with your background. Label them clearly: “Get your checklist,” “Watch lesson 1,” “Claim 10% off.”
- Link hygiene: Use tracked links sparingly: too many can look spammy. One primary button + 1–2 text links is plenty.
Deliverability Basics (From Name, DKIM, SPF)
- From name: Use a personal-plus-brand style (e.g., Alex at BrightLake) so readers recognize you.
- Authenticate your domain: Settings → Domains → Authenticate. Add the DKIM and SPF records to your DNS (your domain provider). This signals to Gmail/Outlook that MailerLite can send on your behalf.
- Custom tracking domain: Set one up to align link domains with your sender domain (helps trust and inboxing).
Pros and cons:
- Pros: Authenticated sending boosts deliverability, domain reputation, and long-term scaling.
- Cons: Requires DNS access and can take a few minutes to propagate, but it’s absolutely worth it.
Advanced Automation Patterns
Once your welcome flow is humming, layer in smarter logic to maximize revenue without annoying your list.
Branching Logic And Goal Tracking
- Multi-branch trees: Branch by “clicked X,” “purchased,” “has tag/group,” or “page visited.”
- Goals: Define a Goal for key outcomes (purchase, booked call). When a subscriber meets a Goal, remove them from promo branches to avoid redundant emails.
Example: In a product launch, set the Goal to “Purchased Launch Offer.” Anyone who buys exits the sequence and enters a post-purchase path.
Resend To Non-Openers And Time Windows
- Non-openers: After 48–72 hours, resend with a fresh subject line and slightly tweaked opening. Don’t overuse, 1 resend per important message is enough.
- Time windows: Send only during local business hours or specific days to improve engagement. In the workflow, add time restrictions (e.g., only send Mon–Fri, 8 a.m.–6 p.m.).
Evergreen Promotions And Deadlines
- Evergreen deadline funnels: Use relative timers (e.g., 72 hours after lesson 3) to offer a bonus or discount.
- Social proof drip: Interleave testimonials and mini case studies before the deadline.
- Fairness: If you use expiring bonuses, make sure your links enforce the deadline (via your cart/checkout tool) for integrity and compliance.
Connect E-Commerce And Websites
Connecting your site and store unlocks behavior-based triggers that feel like magic for conversions.
Install Tracking And Integrations
- Website tracking: Settings → Tracking → Website tracking. Add the MailerLite script to your site’s header.
- Integrations: Native apps for Shopify, WooCommerce, Stripe, WordPress, and more. For others, use Zapier, Make, or webhooks.
Screenshot cue: After you connect, you’ll see site verification and the option to track page visits and click events.
Abandoned Cart And Post-Purchase
- Abandoned cart sequence: 3 emails over 24–48 hours.
- Friendly reminder with cart contents.
- Address objections (shipping, sizing, ROI). Add reviews.
- Gentle incentive or deadline for undecided shoppers.
- Post-purchase: Thank-you + onboarding, care tips, or “how to get the most from your product.” Then cross-sell complimentary items.
Event-Based Segmentation
- Segment by “viewed category,” “added to cart,” “purchased X,” “average order value,” or “order count.”
- Build VIP segments (AOV > $100, 3+ purchases) and treat them to early access or white-glove support.
Use case: A DTC coffee brand triggers a reorder reminder at day 21 based on past purchase cycle length.
Test, Launch, And Monitor
Treat your first 30 days like a flight test. You’ll catch small issues early and learn what reliably drives clicks and revenue.
Preview And Test Emails
- Use MailerLite’s preview to check desktop and mobile.
- Send test emails to multiple inboxes (Gmail, Outlook, Apple Mail) and view with images on/off.
- Click every link, verify merge fields render correctly, and confirm unsubscribe/footer details.
A/B Testing Subject Lines And Paths
- Subject lines: Test curiosity vs. clarity, short vs. long, emoji vs. none. Aim for 20–30% open rates as a baseline for warm lists.
- Content tests: Try different CTA placements or a plain-text version vs. designed.
- Path tests: Split traffic to two sequences (e.g., educational first vs. offer-first) and track purchase rates as your north star KPI.
Key Metrics And Benchmarks
- Open rate: 25–40% for healthy segments (varies by niche and sender history).
- Click rate: 2–6% typical: topically targeted promos can hit 10%+.
- Unsubscribes: Under 0.3% per send. If higher, tighten targeting and expectations on opt-in pages.
- Revenue per subscriber: Your best long-term metric. Track by source to invest in winners.
Tip: Create a dashboard view of your core automations and check weekly. If a step underperforms, edit it, automation isn’t “set and forget,” it’s “set and iterate.”
Troubleshooting And Common Pitfalls
Even polished setups hit snags. Here’s how to fix the common ones fast.
Triggers Not Firing
- Confirm the trigger type matches your entry point (form vs. group join vs. purchase event).
- Check if subscribers are actually being added to the correct group.
- For ecommerce triggers, confirm the store integration is active and events are flowing (look for recent activity logs).
Quick win: Clone the automation, swap the trigger to a test group, and add yourself to that group to isolate the issue.
Duplicate Or Stuck Subscribers
- If someone is in two automations at once, make sure you’re using Goals or exit conditions post-purchase.
- Use “Update field” actions to mark progress and prevent re-entry.
- For stuck contacts, look for missing delays/filters or time-window restrictions that skip weekends.
Compliance And GDPR/CCPA Considerations
- Always include unsubscribe and mailing address in the footer.
- Use double opt-in for EU traffic and store consent (with source) in a custom field if needed.
- Honor data deletion requests and link to your privacy policy.
Pros and cons of strict double opt-in:
- Pros: Cleaner list, better deliverability, clearer consent.
- Cons: Slightly lower raw opt-in numbers. In practice, quality beats quantity for revenue and inbox placement.
Conclusion
You’ve just built the backbone of a scalable email engine: clean list structure, a high-performing welcome/nurture, deliverability foundations, and behavior-based triggers that move people toward a purchase without being pushy.
Where to go next:
- Add one advanced branch at a time (goal tracking for buyers, a resend for non-openers on important messages, a time window for business audiences).
- Connect your store or checkout and turn on abandoned cart and post-purchase flows.
- Review weekly: adjust subject lines, prune cold segments, and keep your best content near the top of each sequence.
Pricing snapshot: MailerLite offers a generous free tier for up to 1,000 subscribers (with some automation limits). Paid plans, Growing Business and Advanced, unlock more automation, A/B testing depth, and advanced features. Pricing scales with your list size, so check the current page for exact rates.
If you’re ready to try this yourself, spin up a free account and build along with this guide: Try MailerLite free (affiliate) → https://www.mailerlite.com?via=yourname
Your future self, the one waking up to sales from last night’s emails, will be very happy you started today.
MailerLite Automation FAQs
What will I learn in this MailerLite automation tutorial?
This MailerLite automation tutorial walks you through list structure, creating groups and segments, setting up forms with double opt-in, building a welcome/nurture workflow with branches, and adding A/B tests and ecommerce triggers. It also covers deliverability basics (DKIM, SPF, tracking domain), troubleshooting, metrics, and quick wins to boost engagement and revenue.
How do I build a welcome sequence with branches in MailerLite?
Create a workflow with the trigger “subscriber completes a form” or “joins group.” Send the welcome + download email, delay 1 day, then add a condition for link clicks. Clickers get “next steps”; non-clickers get a reminder. Follow with value emails, soft offer, and a Goal (e.g., purchase) to exit buyers.
What deliverability steps should I take in MailerLite (DKIM, SPF, tracking domain)?
Use a recognizable From name, authenticate your domain in Settings → Domains by adding DKIM and SPF DNS records, and set a custom tracking domain. These steps improve trust and inbox placement. Expect brief DNS propagation time. Double opt-in and restrained link tracking further support long-term deliverability.
How should I structure groups, segments, and forms for MailerLite automations?
Create clear groups for entry and targeting (e.g., “Newsletter,” “Customers,” “LM: Offer Name”) and dynamic segments for behavior (e.g., Engaged_30d, Cold_90d). Assign each form to a target group and enable double opt-in. Use consistent naming so you instantly see where subscribers are and which automation controls them.
Can I import subscribers without triggering automations in MailerLite?
Yes. Before importing, disable or adjust automation triggers tied to “joins group” or “field updated.” Import subscribers, set a tag or field to mark them as existing, then re-enable workflows with entry conditions that exclude those marked contacts. Test with a small sample first to confirm no unintended enrollments.
Does this MailerLite automation tutorial cover ecommerce triggers like abandoned cart?
Yes. It shows how to connect your store (Shopify, WooCommerce, Stripe) and use behavior-based triggers: abandoned cart sequences, viewed product follow-ups, and post‑purchase paths. You’ll also learn VIP segmentation, reorder reminders, and using Goals to remove buyers from promos, preventing duplicate or irrelevant messaging.