If you’re looking to build a stunning, professional website without any coding experience, WordPress is an excellent choice. With the combination of Elementor Free (a popular page builder) and Astra (a versatile WordPress theme), you can create a fully functional website in no time—and for free. This guide will walk you through every step.
Step 1: Get a Domain Name and Hosting
To get started with WordPress, you need a domain name (e.g., www.yoursite.com) and web hosting. Web hosting stores your website files and makes them accessible on the internet. Here are some great hosting providers offering beginner-friendly services:
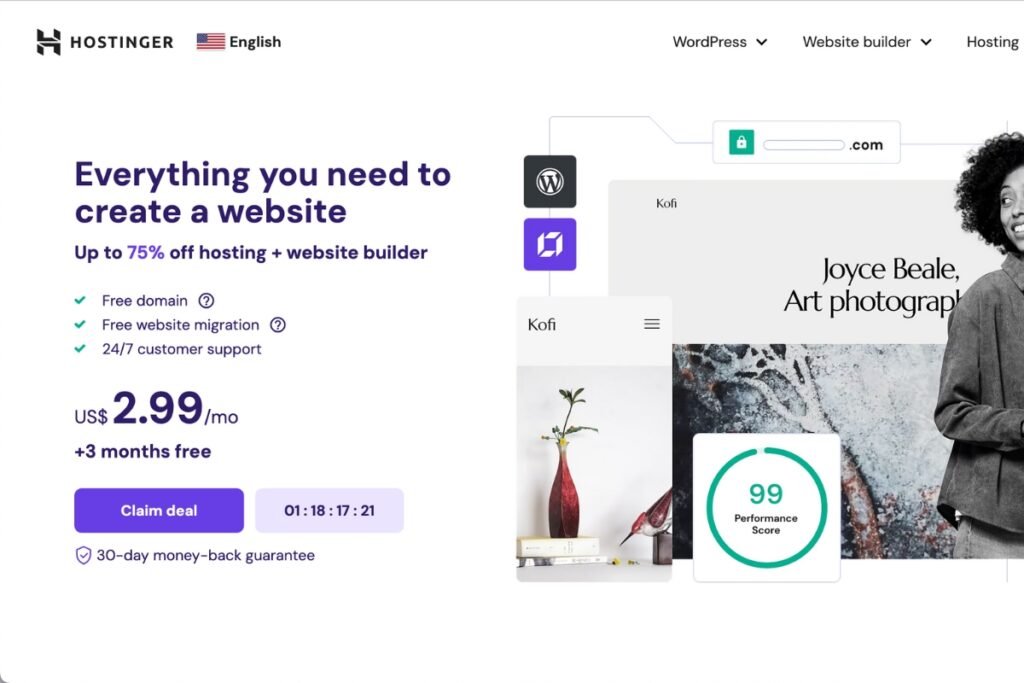
Hostiger is Affordable, reliable, and officially recommended by WordPress.

Bluehost is Affordable, reliable, and officially recommended by WordPress.

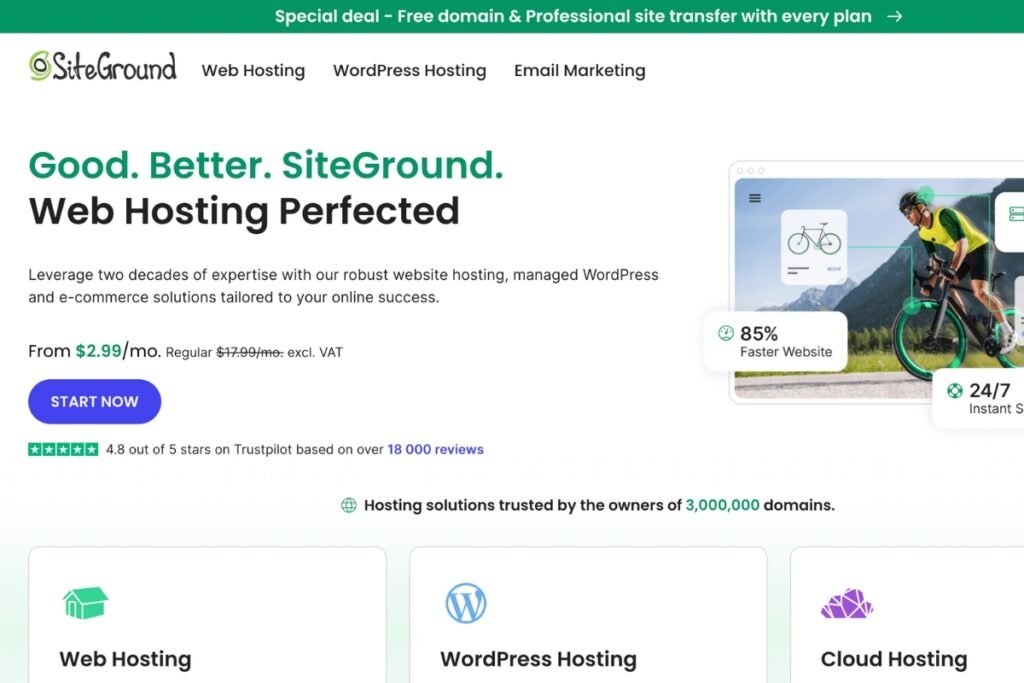
SiteGround is Known for its speed and excellent customer support.

WP Engine High-performance managed WordPress hosting.

Once you’ve signed up for a hosting plan, you’ll receive a control panel (cPanel) where you can manage your website and domain.
Step 2: Install WordPress
Most hosting providers offer a 1-click WordPress installation option via the control panel:
1. Log into your hosting account.
2. Navigate to the “WordPress Installer” under your control panel.
3. Choose your domain, enter your site details, and click Install.
4. Once installed, you will be provided login credentials for your WordPress admin dashboard.
After installation, access the WordPress dashboard by going to `www.yourdomain.com/wp-admin` and logging in with your credentials.
Step 3: Install the Astra Theme
Astra is a lightweight and customizable WordPress theme that works perfectly with page builders like Elementor.
1. Go to Appearance > Themes in your WordPress dashboard.
2. Click on Add New and search for “Astra.”
3. Click Install and then Activate the theme.
Astra is free and provides an excellent foundation for building any type of website, whether it’s a blog, business site, or portfolio.
Step 4: Install the Elementor Page Builder
Now that your theme is set up, it’s time to install Elementor, a powerful drag-and-drop page builder.
1. Go to Plugins > Add New in your WordPress dashboard.
2. Search for “Elementor.”
3. Click Install Now and then Activate.
Elementor Free comes with essential design tools, while the Pro version offers even more features. For now, you can stick with the free version to get started.
Step 5: Create Your Homepage
1. In your WordPress dashboard, go to Pages > Add New
2. Title this page “Home” and select Edit with Elementor.
3. You’ll now enter the Elementor editor, where you can drag and drop elements to design your homepage.
Some common elements you can add are:
– Headlines: Add catchy headings with customizable fonts and colors.
– Images: Upload and display images that represent your brand.
– Text boxes: Write engaging content to explain your services.
– Buttons: Add call-to-action buttons to encourage user interaction.
Step 6: Customize Your WordPress Website Using Astra
Astra gives you advanced customization options for your theme without needing to know any code. Here’s how to customize it:
1. Go to Appearance > Customize.
2. In the Customizer, you can change the layout of your site, header, footer, colors, typography, and more.
3. Astra also comes with pre-built Starter Templates if you want a quick start.
You can choose a ready-made template that matches your industry and modify it using Elementor.
Step 7: Add Important Pages
In addition to your homepage, you’ll need to create essential pages for your website. Here’s how to create each one using Elementor:
– About Page: Describe your business and its mission.
– Services Page: List and explain the services or products you offer.
– Contact Page: Add a form for visitors to reach out to you.
Each of these pages can be designed using the same process you followed for the homepage. You can also include features like image galleries, testimonials, and more using Elementor widgets.
Step 8: Configure Your Menu and Set a Static Homepage
Once your pages are ready, set up your website’s menu and homepage:
1. Go to Appearance > Menus and create a new menu. Add the pages you’ve created (Home, About, Services, etc.) to the menu.
2. Go to Settings > Reading and under the “Your homepage displays” section, set it to “A static page.” Select the page you created as “Home.”
Step 9: Install Essential Plugins
To enhance your site’s functionality, consider installing these free plugins:
– Yoast SEO: Optimize your website for search engines.
– WPForms: Add contact forms to your site.
– UpdraftPlus: Backup your WordPress site.
– Elementor Add-ons & Templates: Add more design options to Elementor.
Step 10: Test and Launch Your WordPress Website
Before you launch, make sure everything is working correctly:
– Test Responsiveness: Ensure your website looks good on mobile and tablet devices.
– Check Load Times: Use tools like Google PageSpeed Insights or GTmetrix to check your site’s speed.
– SEO Readiness: Check your pages for basic SEO principles like proper use of headings and keyword optimization.
Once you’re satisfied with the look and functionality, launch your website by announcing it to your audience through social media and other marketing channels.
Conclusion on WordPress Website
Building a WordPress website from scratch with Elementor and Astra is an accessible, beginner-friendly process. By following this step-by-step guide, you’ll have a beautiful, professional website in no time. Happy building!


